
Reviewed · WORKSHOPS
Rome Photography Masterclass – Private Photography Lesson
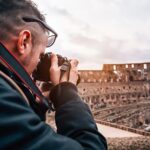
Rome looks different through a viewfinder. This private Rome photography lesson puts Emanuele one-on-one with you for day or night shooting around the Colosseum, Pantheon, Roman Forum, Trevi Fountain, and more. I love how the coaching adjusts to your skill level, even if you are starting from zero, and I love the practical guidance on camera settings, composition, and lighting you can use right away. The main drawback to plan for is time, it is about 3 hours, and most stops are quick photo moments rather than long museum-style visits.
What makes it work so well in real life is that you are not just sightseeing, you are learning how to see. You start at Fontana del Colosseo, you end back at the same meeting point, and you use a mobile ticket while your guides handle the flow of where to stand and what to try next.
Key highlights at a glance
- Private coaching with Emanuele, tailored to your experience level
- Day or night options so you can match your photos to the light you want
- Iconic Rome plus smart angles at the Colosseum, Pantheon, Trevi Fountain, and beyond
- Short, focused photo sessions (about 30 minutes at each main stop)
- Beginner friendly photo instruction, including camera settings and composition basics
A private 3-hour photo lesson that starts at Fontana del Colosseo
This is a walking Rome experience built for photography learning, not a bus-and-brochure day. You meet at Fontana del Colosseo (00184 Roma RM), and the session ends back at the same spot. That round-trip matters because it keeps you from burning time figuring out logistics mid-shoot.
The group setup is also a big deal: it is a private tour, meaning only your group participates. If you have ever been on a crowded tour where the guide can only talk loudly and move fast, you will appreciate the slower, teachable pace here.
Duration is about 3 hours, and you can expect a rhythm of brief stops plus movement between them. Your guide will guide where to aim your camera, how to frame, and what to adjust next. It is a great format if you want improvement you can feel during the same day.
You can also read our reviews of more private tours in Rome

What you actually learn: camera settings, composition, and lighting
This masterclass is built around instruction that you can apply immediately. The best part is the coaching style. Emanuele takes time to understand where you are starting from and what kind of photos you want to make.
You can expect help with practical topics like:
- Camera settings that fit what you are trying to photograph
- Composition choices, including how to see perspective in city scenes
- Lighting awareness, which changes fast in Rome depending on time of day and cloud cover
If you are a beginner, this format makes sense because the lessons do not assume you already know how to work your camera. People often arrive with a lot of enthusiasm and not much control over the settings, and the teaching approach is patient and step-by-step.
If you are more experienced, it still works because you can focus on refinement. The goal is not just to get a few nice pictures, it is to help you understand why a certain framing works and how to replicate it on your own.
One small plus that shows up in how the guide works: he helps you get the shot while also taking care of the moment. In some cases, he can help with photos and even video of you as part of the experience, so you are not stuck only behind the camera the whole time.
Day or night choice: how to match your photos to Rome’s light
This tour lets you pick between day or night based on what you want to shoot. That choice is not just cosmetic. Light is half the battle in Rome, especially when you are photographing stone, street life, and crowds.
- Day tends to reward clean detail and contrast. You will often get easier visibility for architectural lines at places like the Pantheon and Forum area.
- Night tends to reward mood. Street scenes and illuminated landmarks can push you to think about exposure and how to compose with darker surroundings.
If you love architecture and crisp structure, a daytime session is usually the better bet. If you like atmosphere and street photography with monuments in the background, night can be more fun.
Stop 1: Colosseum photo time and the best quick framing spots
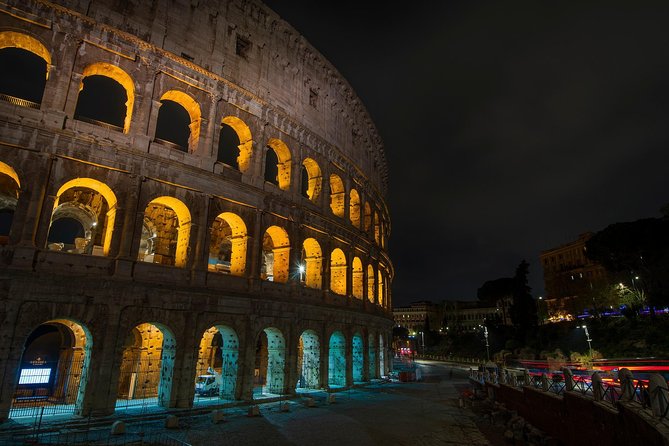
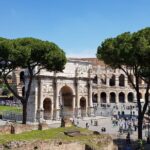
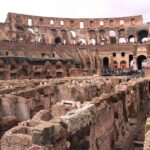
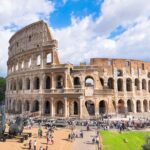
You start with the Colosseum area, with about 30 minutes for passing by and photographing. The big advantage here is that you get targeted photo attempts without spending a half-day stuck in crowds.
What your guide will likely focus on at this stop:
- Perspective: using lines and positioning so the building feels tall and not flat
- Composition: choosing an angle that includes either detail or context without clutter
- Quick camera adjustments: so you can react when the light changes or people move through the frame
Admission tickets for the listed stops are marked as free in the experience info, which helps reduce planning friction. Still, remember this is mostly a photo-focused walk-and-shoot stop. If you want a deep interior visit, you will need extra time beyond this 3-hour session.
Stop 2: Pantheon, passing by with smart framing and contrast
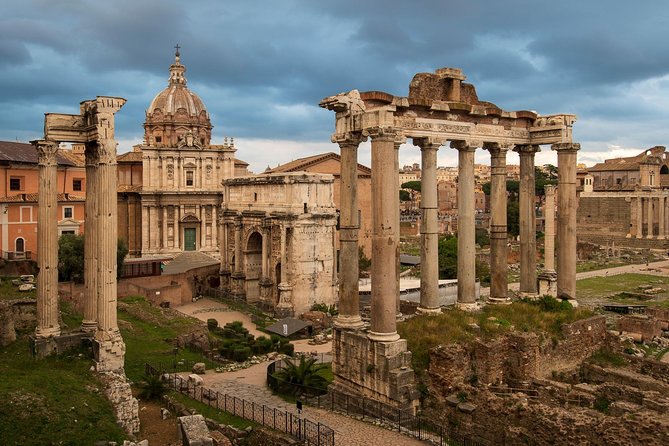
Next up is the Pantheon, again with a quick photo segment of about 30 minutes as you pass by and photograph it. The Pantheon is a classic photography subject, but it can be tricky because of glare, crowds, and the way bright surfaces can overpower your exposure.
This is where the coaching part matters. You will not just stand there hoping for the right light. You should get guidance on:
- Where to position for strong geometry
- How to handle brightness so your subject does not blow out
- How to frame the building so it looks intentional, not accidental
Even if you have shot the Pantheon before, you can come away with new angles. A good private lesson helps you notice what you ignored last time, like how small changes in camera height can reshape the whole image.
You can also read our reviews of more photography tours in Rome
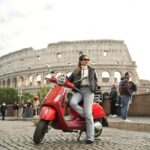
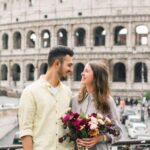
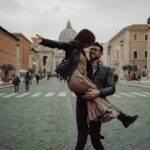
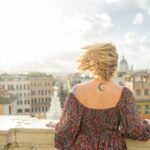
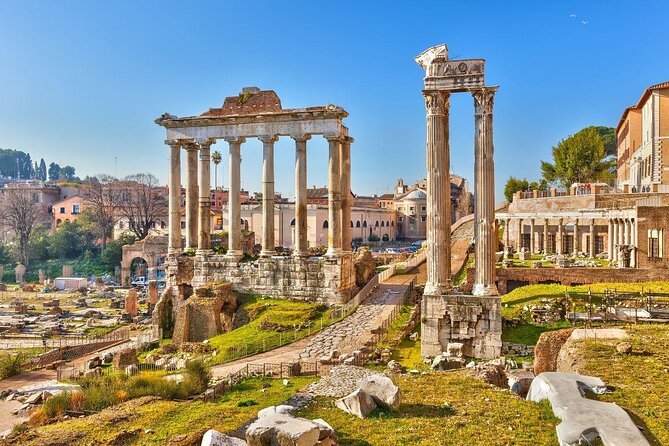
Stop 3: Foro Romano (Roman Forum) and using perspective to feel the scale
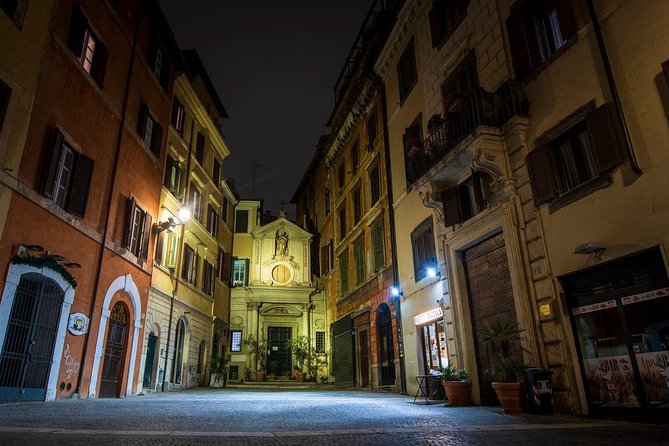
Then comes the Roman Forum area, another about 30 minutes for photographing while passing by. This stop is all about scale. The ruins can look incredible, but only if your composition helps the viewer understand distance and depth.
This is the kind of place where perspective tricks make a huge difference:
- Foreground elements help your photo feel larger than life
- A lower or higher viewpoint can change how the ruins read
- Waiting briefly for fewer people in your chosen frame can save your photo
You also learn how to avoid the common problem of getting a postcard shot that feels flat. When you understand how to compose for depth, the Forum becomes much more dramatic on camera.
Stop 4: Trevi Fountain, including a special angle you will remember
Trevi Fountain is next, about 30 minutes for passing by and photographing. It is one of those places where everyone wants the same picture, and you will have an advantage if your guide pushes you toward a different viewpoint.
One detail I really like in how this kind of lesson works: you are not only chasing the obvious centerpiece shot. You can end up with a more personal perspective and a unique way to capture the scene.
The experience info and guide approach suggest you might even get access to a shot option that is less expected, so you can capture Trevi in a way that feels like you were meant to be there.
A practical tip for this kind of location: plan for time spent composing, not only waiting for a clear moment. The guide coaching is valuable here because it helps you decide what to prioritize right now, not what to hope for later.
Stop 5: Piazza Navona, architecture plus street-level photo instincts
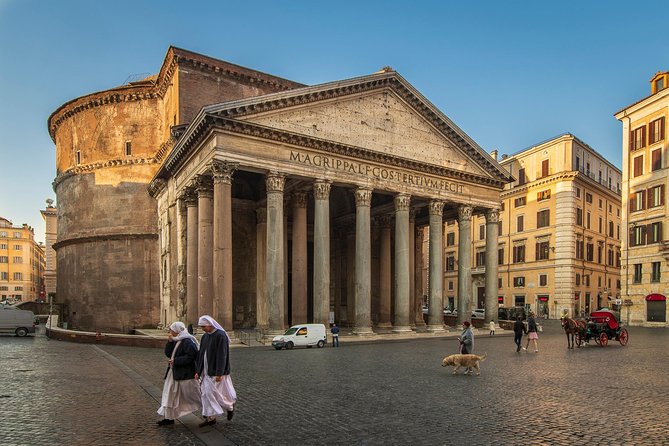
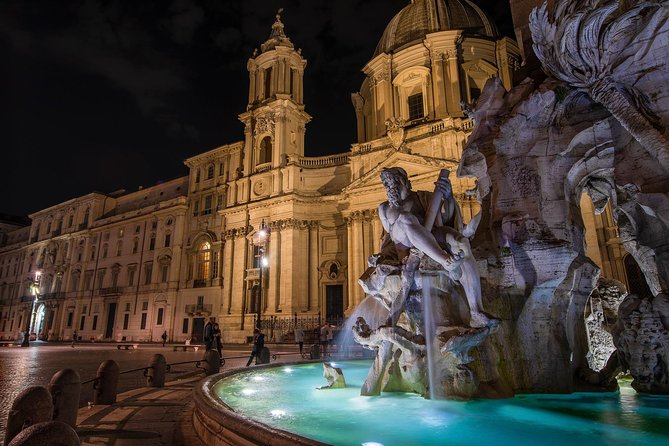
Piazza Navona comes next for about 30 minutes of passing by and photographing. This square is great because it gives you multiple photo moods in a small area: architecture lines, open space, and people moving through your frame.
This stop tends to reward street photography composition. You can work on:
- Framing with negative space so the scene breathes
- Balancing architectural elements with human scale
- Keeping your subject clear when the crowd shifts
If your goal is learning how to photograph cities like a photographer rather than a tourist, this is often the most satisfying stop. The setting gives you enough variety to practice without needing a car or a long detour.
Stop 6: Castel Sant’Angelo and turning a landmark into a photo story
The final major stop is Castel Sant’Angelo, again about 30 minutes for passing by and photographing. From a photography standpoint, it is a nice capstone because it lets you practice everything you learned earlier: positioning, exposure decisions, and composition.
This is where your lessons from Colosseum and the Forum often click. You stop thinking only about the landmark and start thinking about:
- How the background supports the subject
- How to frame the structure so it has strong lines
- How to control distractions in busy areas
Castel Sant’Angelo also helps you broaden your Rome photos beyond the three biggest names. When you leave with images from multiple types of scenes, your photo set feels more like a story.
Price and value: what you get for about $181 per person
At $181.02 per person for about 3 hours, you are paying for three things at once:
- Private instruction from a photography professional guide
- A guided walking route connecting major sights and photo opportunities
- Coaching that targets camera settings, composition, and lighting
Is it cheap? No. Is it good value compared to random sightseeing with no instruction? Yes, especially if you care about getting better and you only have one day or a limited window.
You also have small value levers built in:
- Admission is shown as free for the listed stops
- A mobile ticket is used, which helps keep your day smoother
- There can be group discounts if you are traveling with others
The biggest value is not the sites themselves. Rome is Rome and you can see it on your own. The value is learning how to photograph it, in real time, with a coach watching your choices.
What to bring, and the two logistics points that matter
Two items can make or break your experience.
First, bring your camera. The experience info says camera is not included, and that makes sense because this is a masterclass built on practicing your own settings and your own gear.
Second, think about a tripod. A tripod is available upon request, but it is not automatically included. If you want to shoot night photos with longer exposures, or you like steady compositions, consider asking ahead so you do not waste time on the spot.
On the logistics side, transportation to and from the attractions is not included. That means you are relying on walking between stops and the fact that the meeting point is near public transportation. Plan to wear comfortable shoes. You are on the move, and your feet will set your pace more than the clock does.
Who this masterclass is best for
This tour works best if you fall into one of these groups:
- You are new to photography and want guided help with camera settings and composition without feeling lost.
- You know your way around a camera but want practical coaching for street and architectural scenes.
- You have a day or a few hours in Rome and want your photos to improve fast.
- You want a private experience where the guide can focus on your style, not a generic checklist.
The experience info says most travelers can participate, which aligns with the beginner-friendly teaching style shown in the guide’s approach.
Should you book the Rome Photography Masterclass?
Book it if you want better photos and you learn best with a hands-on teacher. If you are excited about Rome but tired of getting only tourist snapshots, this private lesson is a strong match because the instruction is tailored to your skill level and you practice during the same session.
Skip it, or add your own planning, if you want long interior time at major attractions. This is about short photo moments around big landmarks, then moving on. Also, because transportation is not included, it helps to be comfortable getting around on foot near a public transit area.
If you want one focused way to upgrade your photos in Rome, this is a smart use of time, and the 5-star rating with strong recommendation rates suggests that people leave feeling they learned something real, not just saw a list of sights.
FAQ
How long is the Rome Photography Masterclass
It runs for about 3 hours.
Where does the tour start and end
You meet at Fontana del Colosseo, 00184 Roma RM, Italy. The experience ends back at the same meeting point.
Is this a private tour
Yes. It is a private tour/activity, and only your group participates.
What language is the tour taught in
The experience is offered in English.
Do I need to bring a camera
Yes. The camera is not included.
Is a tripod included
A tripod is available upon request.
Is transportation to the attractions included
No. Transportation to/from attractions is not included.
Can I choose a day or night tour
Yes, you can pick between day or night depending on your interests.
Is there free cancellation
Yes. You can cancel up to 24 hours in advance for a full refund.
More Photography Tours in Rome
More Private Tours in Rome
More Tour Reviews in Rome
Not for you? Here's more nearby things to do in Rome we have reviewed


Workshops, compared.
 ★ 4.9Pasta & Tiramisu Class with Fine Wine by the VaticanFrom $414,852 reviews
 ★ 4.9Pasta Making Class with Wine, Limoncello, and DessertFrom $483,177 reviews
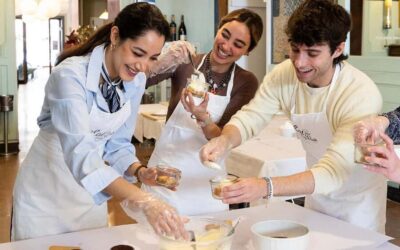 ★ 4.93-in-1 Fettuccine, Ravioli, and Tiramisu Cooking ClassFrom $812,704 reviews
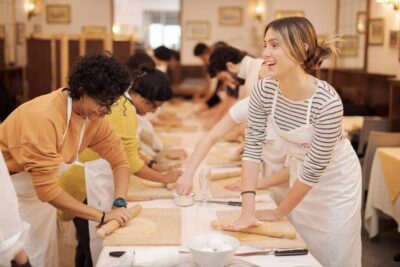 ★ 4.8Fettuccine Pasta Cooking Class in Rome’s City CenterFrom $462,414 reviews
 ★ 5.0Traditional Pasta with Cocktails Cooking ClassFrom $1002,374 reviews
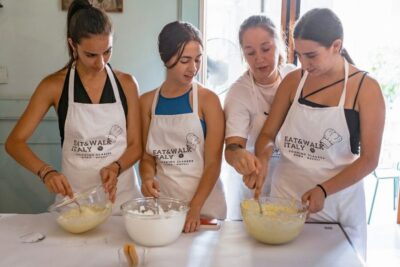 ★ 4.8Fettuccine and Tiramisu Cooking Class with WineFrom $672,013 reviews
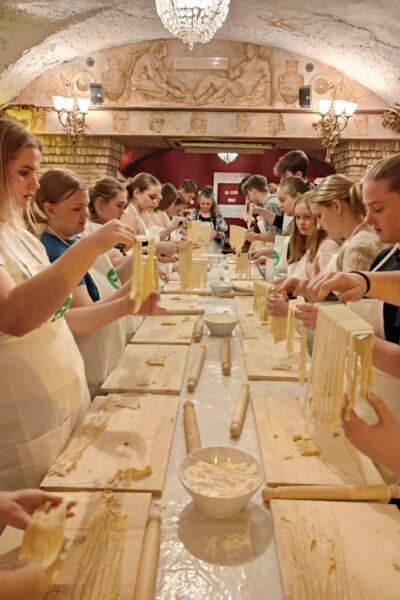 ★ 4.8Pasta & Tiramisu Cooking Class near the Spanish StepsFrom $581,395 reviews
 ★ 4.7Traditional Pizza Cooking Class near Piazza NavonaFrom $461,241 reviews
Browse the lists this tour appears in