
Reviewed · PHOTOGRAPHY SESSIONS
Rome, Private Photography Guided Tour – Capture Iconic Sights
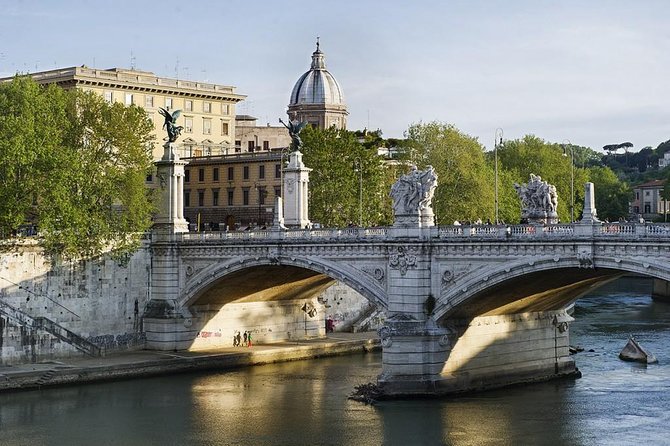
Rome begs for a better photo. I like this private walk because it is built around photo planning and real angles with Antonio, plus you can tweak the route to match your interests. The main thing to consider is that you bring your own camera, and Foro Romano entrance tickets are not included.
You do not need to be a pro. Bring a friend who just wants the story behind what you see, because Antonio keeps the focus on what to photograph and how to frame it. This is a walking tour, so wear shoes you trust.
The experience is also practical. You are learning how to time your shots, not just where the monuments are, and you get tips that work whether you shoot on a phone, an interchangeable-lens camera, or something older with film.
Key points to know before you go
- Antonio leads with photojournalist instincts and plans where to stand for the best light.
- You get customization, so the route can fit your interests and comfort level.
- Non-photographer friends are welcome, and still end up with useful photo moments.
- Bring your own gear, including a tripod or monopod if you want sharp night or low-light shots.
- Foro Romano has admission not included, while the Vatican City side is listed as free for admission.
Meeting at Largo di Torre Argentina, then working the light
You start at Largo di Torre Argentina, 7 (00186 Roma RM), and the tour ends back at the same spot. That loop matters because you are not relying on a complicated transport plan mid-walk.
This meeting point is in a good, central area for getting around on foot and via public transit. It also puts you near some instantly recognizable Rome textures: stone, viewpoints, tight city streets, and the bigger “wow” moments you want for photos.
From the first steps, the vibe is simple. You bring your camera, Antonio shows you where the angle changes the picture, and you start shooting right away instead of waiting for a lecture.
You can also read our reviews of more guided tours in Rome
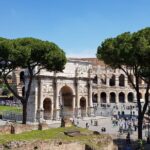
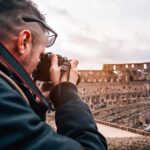
Two shooting routes: Foro Romano and Colosseum, or Vatican City highlights
This experience is structured around classic Rome areas, with time to actually photograph rather than just pass by. Think of it as two main themes you can lean into, depending on what you want most out of your 3 hours.
The Foro Romano style loop (with Roman Forum and Colosseum)
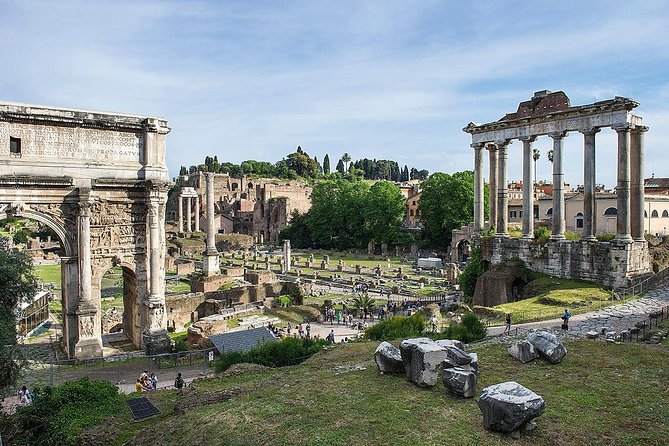
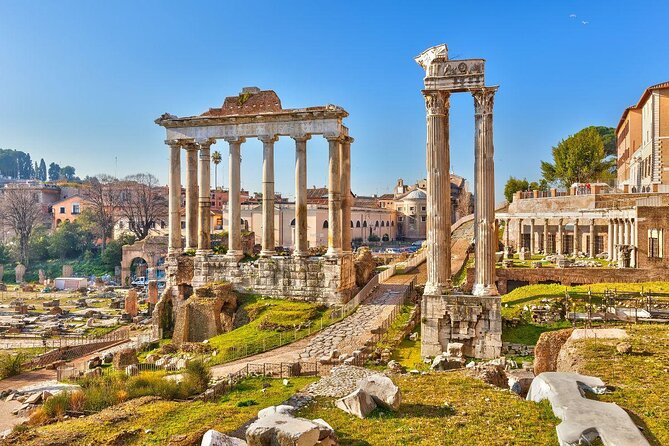
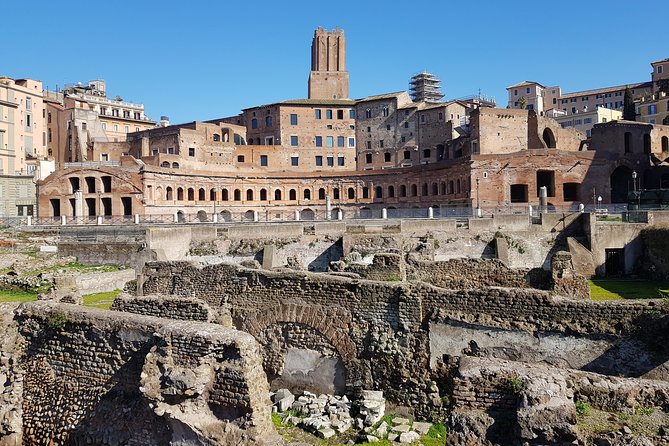
One main focus is the Foro Romano and Colosseum zone, tying together several landmarks along the way. The route includes the Jewish ghetto area, Tiber Island, Capitol Hill, then the Roman Forum and Colosseum.
That mix is smart for photos because it is not one single view. You get wide context shots from higher ground, plus tighter architectural frames when you want that “I am standing inside the story” feeling.
Just note the practical part: admission tickets are not included for the Foro Romano portion. If you want to photograph from inside specific areas, budget for whatever entry fees apply.
The Vatican City style loop (with Pantheon area to Vatican views)
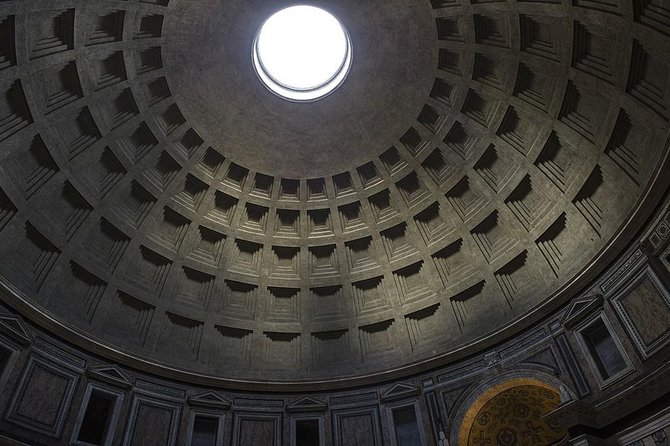
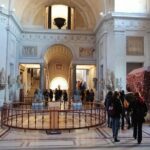
Another main focus is Città del Vaticano, which routes through Pantheon, piazza Navona, Castel Sant’Angelo, and then ends up at Vatican City. It is a great option if you want a mix of big monuments and photo-friendly public squares.
Here the data is clear on the money side: admission is listed as free for this Vatican City stop. That does not mean you should ignore site rules, but it does reduce the chance of surprise costs during your walk.
This loop also tends to be visually diverse. You can work on grand compositions at the big landmarks and then switch to more human-scale framing around the squares and river-adjacent viewpoints.
Antonio’s photo approach: learn composition and timing on the move
Antonio is not just a tour guide with a camera. He is an experienced photojournalist with strong English, and the way he teaches is focused on what you can use immediately.
One of the standout lessons is timing. In practice, that means you are not stuck arriving somewhere and hoping for decent light. Antonio plans when you should be at each perspective so you get better shadows, nicer contrast, and less harsh glare.
The second big theme is composition. You will get guidance on how to simplify the scene, how to use lines and edges in Roman architecture, and how to frame monuments so the final photo looks intentional, not accidental.
What I like for you is the patience element. If you are an amateur, you still get to move at your speed, and you can ask questions without feeling rushed. If you shoot more seriously, Antonio can push you with more precise angle and lens choices.
You can also read our reviews of more private tours in Rome

How the walking route helps your photos (instead of just tiring you)
This is active in the good way. You are walking enough that the tour stays alive, but not so much that it becomes a training session. You get to see the city at street level, which is where a lot of the best photo opportunities hide.
The route also gives you a natural progression for storytelling. Starting near Largo di Torre Argentina, you move through areas where Rome changes from tight street textures to iconic monument scale. For photos, that is gold, because you end up with variety in one session.
You also get built-in chances to experiment. After Antonio points out an angle, you can try the same view with a different framing style, then compare what changes when you step left or right a few meters.
What to bring: camera, tripod, batteries, and the small gear that matters
This tour is camera-first, and you will need to bring your own equipment. The list is practical and worth following because Rome lighting can be tricky, especially if your 3 hours stretch into late afternoon or evening.
At minimum, bring:
- Your personal camera
- A camera backpack (so you are not juggling gear in crowds)
- Extra batteries (Rome days are long, and cameras are hungry)
- Comfortable walking shoes (seriously, you will thank yourself)
- A tripod or monopod, especially if you want night or low-light images
If you have different lenses, bring an assortment. You do not need a professional kit, but having options helps because Rome rewards both wide context and tight architectural details.
A flash unit is listed as a nice-to-have. You might not use it, but if you have it, it can be useful as a backup plan when light drops or you find yourself in deeper shadows.
One more small tip: plan for quick access. If you are digging through your bag every time Antonio suggests a shot, the rhythm breaks.
Stop-by-stop photo targets you can expect to work on
Since the itinerary covers both Rome monument zones and key squares, you can expect your shooting time to include a mix of:
- Wide monument views where positioning is everything
- Architecture details, where lines, edges, and repeating forms matter
- River and skyline angles, where timing and perspective help reduce distractions
Foro Romano area photo work
In the Foro Romano style route, your opportunities likely include:
- Framing the Roman Forum and Colosseum so they sit naturally in the scene
- Using Capitol Hill type viewpoints for stronger leading lines
- Capturing the “in-between” streets and passages that connect the big hits
Because admission is not included for Foro Romano, I suggest you decide in advance what you want the most. If you want inside-the-site photos, plan for entry. If you want the best outdoor compositions, you can focus your energy on angles that work from public areas.
Vatican City area photo work
On the Vatican City loop, you are set up for:
- Grand composition at major landmarks
- Square-level shooting at places like piazza Navona
- River-adjacent views around Castel Sant’Angelo
- The classic Vatican silhouette effect when the light is cooperating
With admission listed as free for this stop, you can spend less mental energy on costs and more energy on getting your camera settings right.
Language, group size, and how “private” changes the experience
This is offered in English, and it is a private tour, meaning it is only your group. That matters because Antonio can tailor the photography guidance to your comfort level.
If you are traveling with a friend who does not care about photography, you still benefit. Antonio can keep you moving toward great angles while your companion gets the stories and context behind what you are seeing.
Also, being private makes customization feel real. You can adjust the route to match your pace or your photo priorities instead of being locked into a rigid script.
Value check: what you get for about $216 per person
At $216.27 per person for about 3 hours, you are paying for two things that are hard to replicate alone: a professional photographer guide and a customized route.
If you normally wander Rome with a map and hope for good angles, this is a shortcut. You are buying time plus expertise, especially the parts that matter for photos: where to stand, when to shoot, and what composition choices make a monument look three-dimensional in a flat photo.
The biggest value lever for many people is that Antonio’s guidance works across skill levels. Amateur shooters get fundamentals explained patiently. More advanced shooters get pushed on angle, lens thinking, and shot planning.
The main tradeoff is also clear: you handle your own camera and you might handle admission for the Foro Romano side. If you come prepared, the price starts to feel fair fast because you are not wasting time.
Practical tips to get better shots during your 3 hours
A good photo walk is partly technique and partly preparation. Here are the habits that will help you squeeze more quality out of the time.
Bring what you need to avoid friction:
- Charge devices and check memory cards before you meet
- Bring extra batteries so you are not forced to stop shooting
- If you plan to use a tripod, practice setting it up quickly
When you get to a viewpoint, slow down. Do not shoot the first angle, then rush to the next stop. Give yourself 2 to 3 frames after Antonio shows you the composition idea, then experiment with small changes.
And for your friends who are not photographers, keep it simple: ask them to pick the angle they like most. That small decision makes the walk more social, and it also keeps everyone engaged.
Who should book this Rome photo tour
This tour is a great fit if:
- You love photography and want your Rome photos to look more intentional
- You like walking tours but want them to be purposeful
- You want help with composition and timing, not just landmark facts
- You are traveling with a friend who is not a photographer but still wants a meaningful experience
It might be less ideal if:
- You do not want to bring your own camera gear
- You dislike walking or want a mostly seated experience
- You want everything fully ticketed, because the Foro Romano side is listed with admission not included
Should you book this private Rome photography guided tour?
I think it is worth booking if you want better photos without turning your trip into a photography workshop. The combination of Antonio’s photojournalist eye, practical English guidance, and the ability to customize your route makes this feel like a tailored Rome session rather than a generic checklist walk.
Book it if you are prepared to bring your camera and want to learn how the best angles happen on foot. If you are flexible, you will leave with photos that look like you planned them, even if you are still figuring out your settings.
If you want to tell me your camera type and whether you prefer day shots or low-light shots, I can suggest what to pack and what kind of itinerary focus tends to work best for that style.
FAQ
What is the duration of the Rome private photography guided tour?
The tour is listed as approximately 3 hours.
How much does the tour cost?
The price is $216.27 per person.
Is this a private tour or a group tour?
This is a private tour/activity, so only your group participates.
Do I need to bring my own camera?
Yes. You must bring your own camera (digital or analog). A tripod or monopod is also recommended for night photography or low light situations.
Are entrance fees included?
For the Foro Romano stop, admission tickets are not included. For the Città del Vaticano stop, admission is listed as free.
Where does the tour start and end?
The tour starts at Largo di Torre Argentina, 7, 00186 Roma RM, Italy, and it ends back at the meeting point.
Can I cancel and get a full refund?
Yes. You can cancel for a full refund up to 24 hours in advance. If you cancel less than 24 hours before the start time, the amount paid is not refunded.
More Guided Tours in Rome
More Tours in Rome
More Tour Reviews in Rome
Not for you? Here's more nearby things to do in Rome we have reviewed

Photography Sessions, compared.
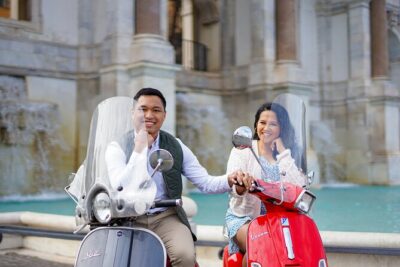 ★ 5.0Rome Vespa Scooter Tour with Professional PhotographerFrom $66857 reviews
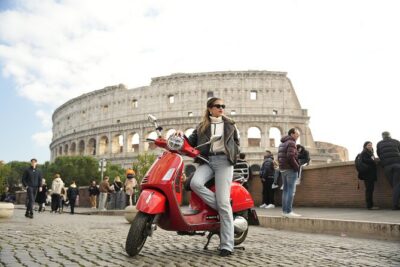 ★ 5.0Rome Vespa Tour with Professional PhotoshootFrom $81576 reviews
 ★ 5.0Personalized Photoshoot outside the ColosseumFrom $53526 reviews
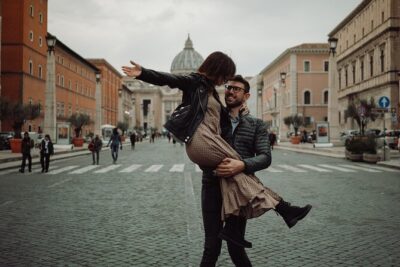 ★ 4.9Professional Photoshoot in RomeFrom $40452 reviews
 ★ 5.0Photo Shoot in Rome with Professional PhotographerFrom $48348 reviews
Vespa Tour with Pro PhotoshootFrom $80276 reviews
 ★ 4.9Romantic Photoshoot for CouplesFrom $68238 reviews
 ★ 4.9Private Photoshoot at the Trevi FountainFrom $65235 reviews
Browse the lists this tour appears in